


Durable and dry bike packing bags
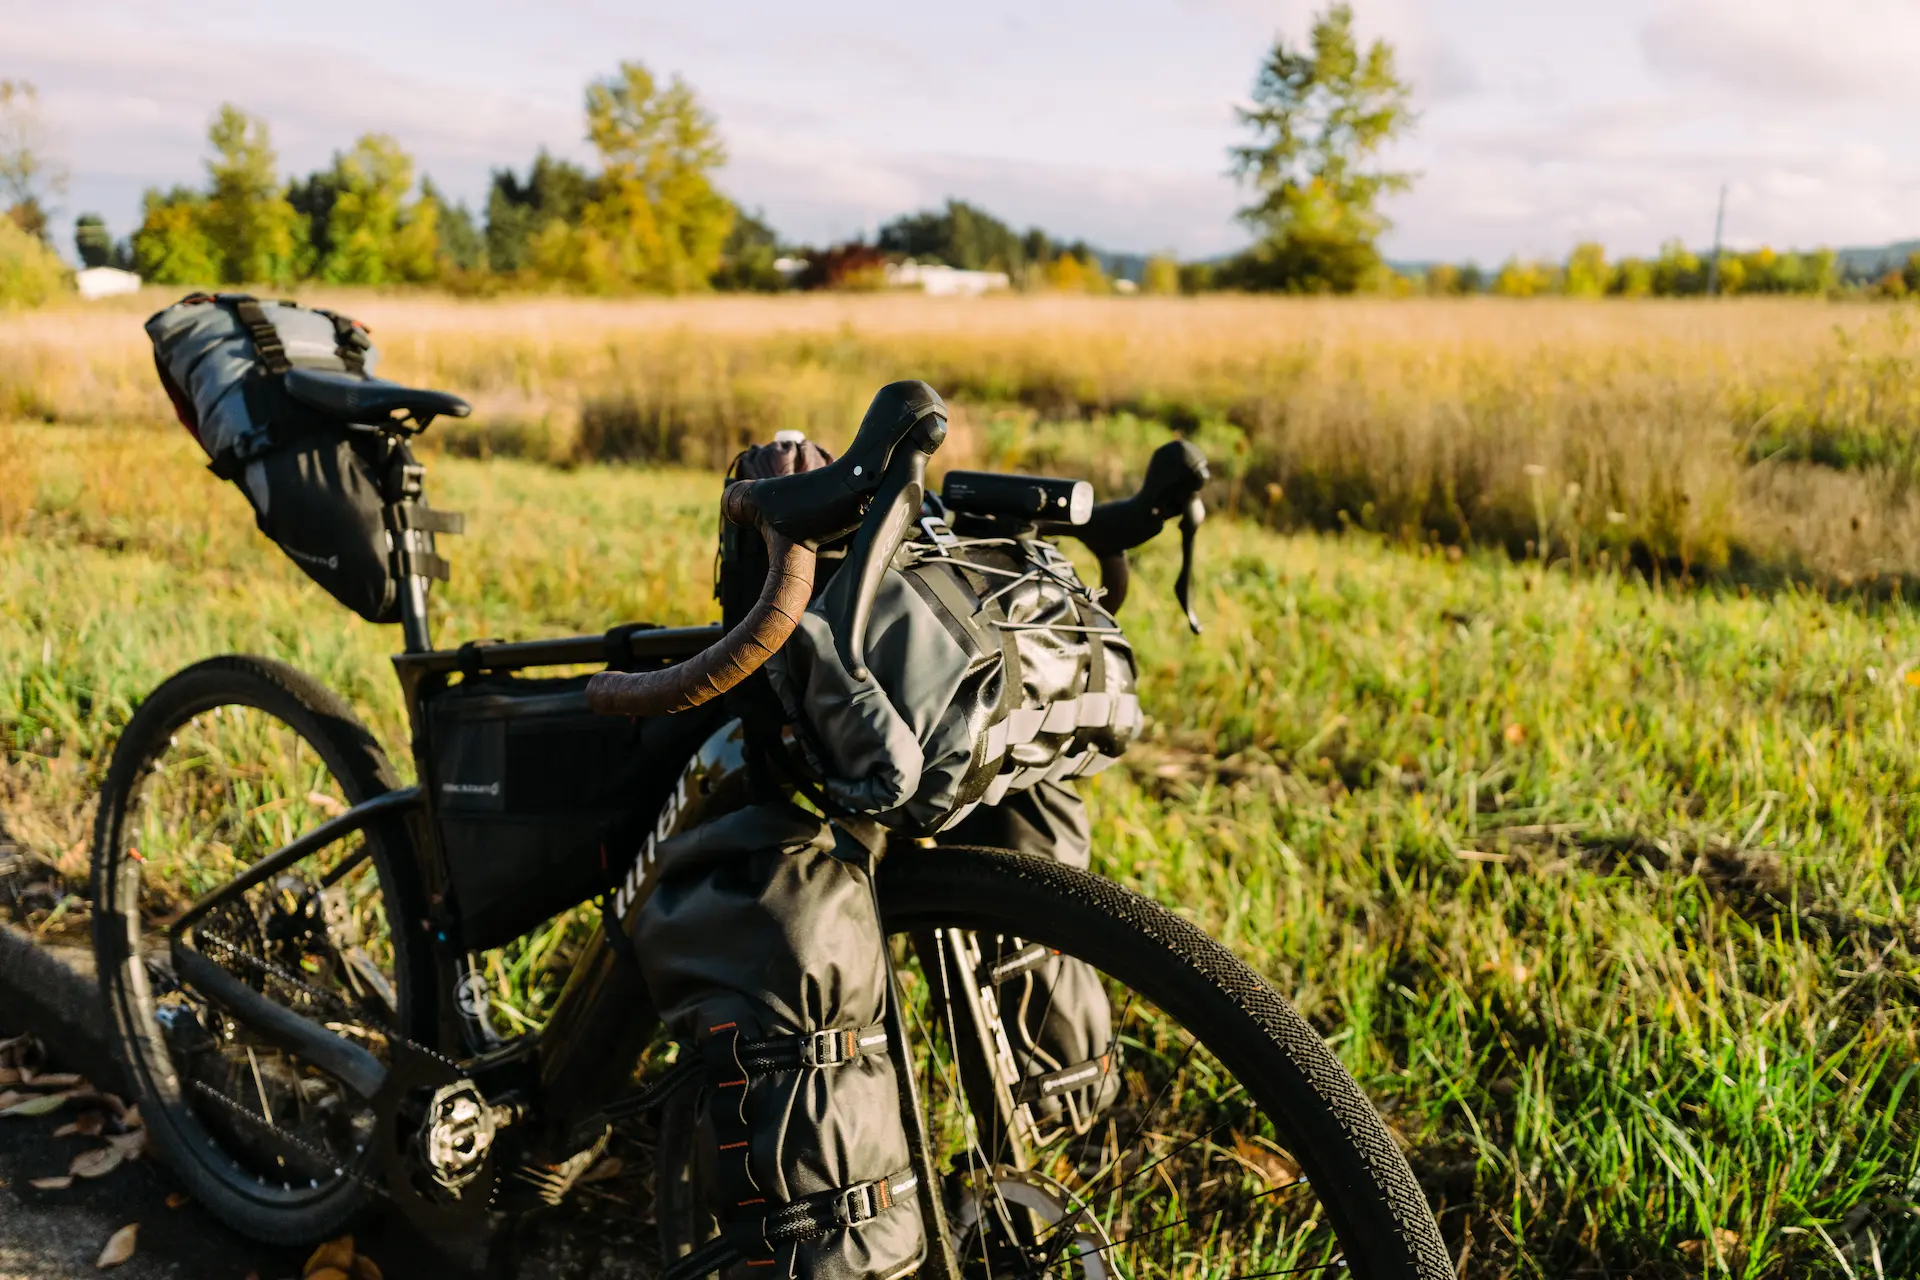
Finding the right bags and how to setup your bike for bike packing can be quite the experience, the Blackburn Outpost Elite bags offer a solution for every need. Knowing what types of bags I wanted and how I wanted to pack my gear, I loaded up and set out for a 3 day 200 mile bike packing adventure.
Loading up the Niner RLT E9 RDO, I knew that I would have no concern for the weight penalty, but still wanted to pack light and keep it to the essentials. Having used a few pieces of what I brought along here in the past on shorter over night bike packing trips, I was looking forward to putting everything to the test for 3 rainy days.

Blackburn Outpost Bags
Outfitted on the bike for the trip is a bit of a mix and match of Blackburn Outpost and Outpost Elite bags.
The Bags
- OUTPOST FRAME BAG
- OUTPOST ELITE CARGO BAGS
- OUTPOST ELITE HANDLEBAR ROLL
- OUTPOST SEAT PACK
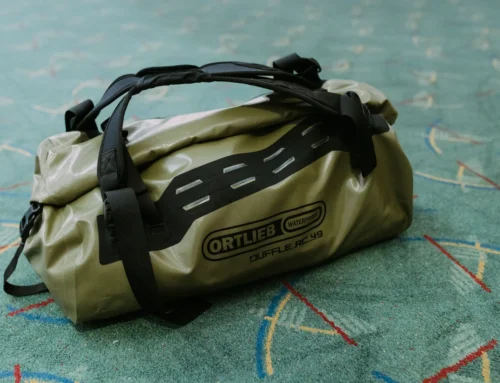
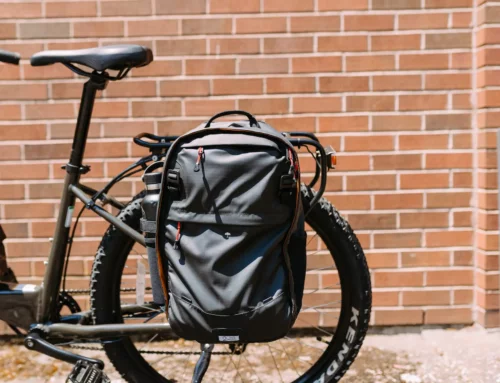
- OUTPOST CARRYALL
The Gear
- Riding clothes
- Casual clothes
- North Face Cat’s Meow
- SOL Escape Bivvy
- Thermarest Pro Lite
- SOL Tarp
- Charger
- Blackburn Wayside Tool
- Snacks – all of them
How to pack your gear
Getting started for the trip, it was necessary to know what gear I was bringing and what bags I needed to outfit to do the job. Having used a couple of these bags in the past I was looking forward to using more to help even out the load and better balance the bike.
You may have seen our Niner Overnighter trip where we took two Niner RLT E9 RDO’s out for an overnight trip. There we focused more on the experience and using an electric bike for bike packing. Discussing feelings of range anxiety and the benefits of the electric platform for greater performance carrying the gear and in turn a great trip.
Fork cages and dry bags
On the fork I mounted two of Blackburn’s Cargo Cage’s to mount the Elite Cargo Bags. These are durable dry bags with a simple MOLLE strap down the front to secure the bags to the cage. In these two bags I loaded the Niner’s charger and a pair of slides in one bag, with the other bag carrying the SOL Bivvy, Thermarest, and tarp. Combined this gear isn’t excessively heavy, just a tad bulky and items that I absolutely did not want to get wet at all. The dry bags provided a safe haven for the gear through the constant weather and most importantly protected the charger and kept my sleeping kit dry.
Tidy and secure handlebar bag
In past trips with these bags I’ve used the Elite Handlebar Roll to store my sleeping bag, but I decided to switch things up and use it for my casual clothes and spare riding gear. With an 8lb max weight capacity and already having gear mounted to the fork, I didn’t want to have too much bulk on the bars. The main reason was to allow me to handle the bike easier and faster while riding. I’ve noticed with too much bulk on the handlebars, the responsiveness of the front end is restricted and can make for tricky riding. Takeaways of the Elite Handlebar roll, are the rigid mount and access to the drybag from either side. The Rigid mount has a number of fixed positions that makes it easy to find the best way to mount the handlebar roll without affecting cable routing or other handlebar accessories. The dry bag being accessible from either side makes loading and unloading extremely convenient. Wether you pack in a very organized manner or just stuff things in there knowing that you can get what you need from either side is nice when it’s wet out and you don’t want to remove everything from the bag.
Seatpost bag for the most important item
As mentioned, I’ve stored my sleeping bag in both the handlebar roll and seat pack on seperate trips. I find the seat pack to be the best way to store it on trips. The Outpost Seat Pack is a super durable two piece design. The outer shell mounts to the seatpost and create a cradle to strap the dry bag in. Now if it’s not raining, you could opt for a different, lighter, bag to use in it’s place. Unlike some other seat packs, it does not have a rigid mount that attaches to the seat rails, it’s a nylon webbing strap with buckles on either side, which in turn connect to the bag allow you to sinch it down. On the front of the bag are two velcro straps to strap to the seat post. On most seatposts I prefer a solid mount, but using the Redshift Shockstop Suspension seatpost, I find the less rigid mount more compliant with the seatpost to allow it to still function as desired. The dry bag is similar to that of the ones used on the fork mount, a very thick and durable material with a rolltop and buckle. Although I don’t find it to be an issue with the fork mounted cargo bags, the lack of a breather port on the Seat Pack dry bag makes compacting a sleeping bag in it a bit labourous to get small.
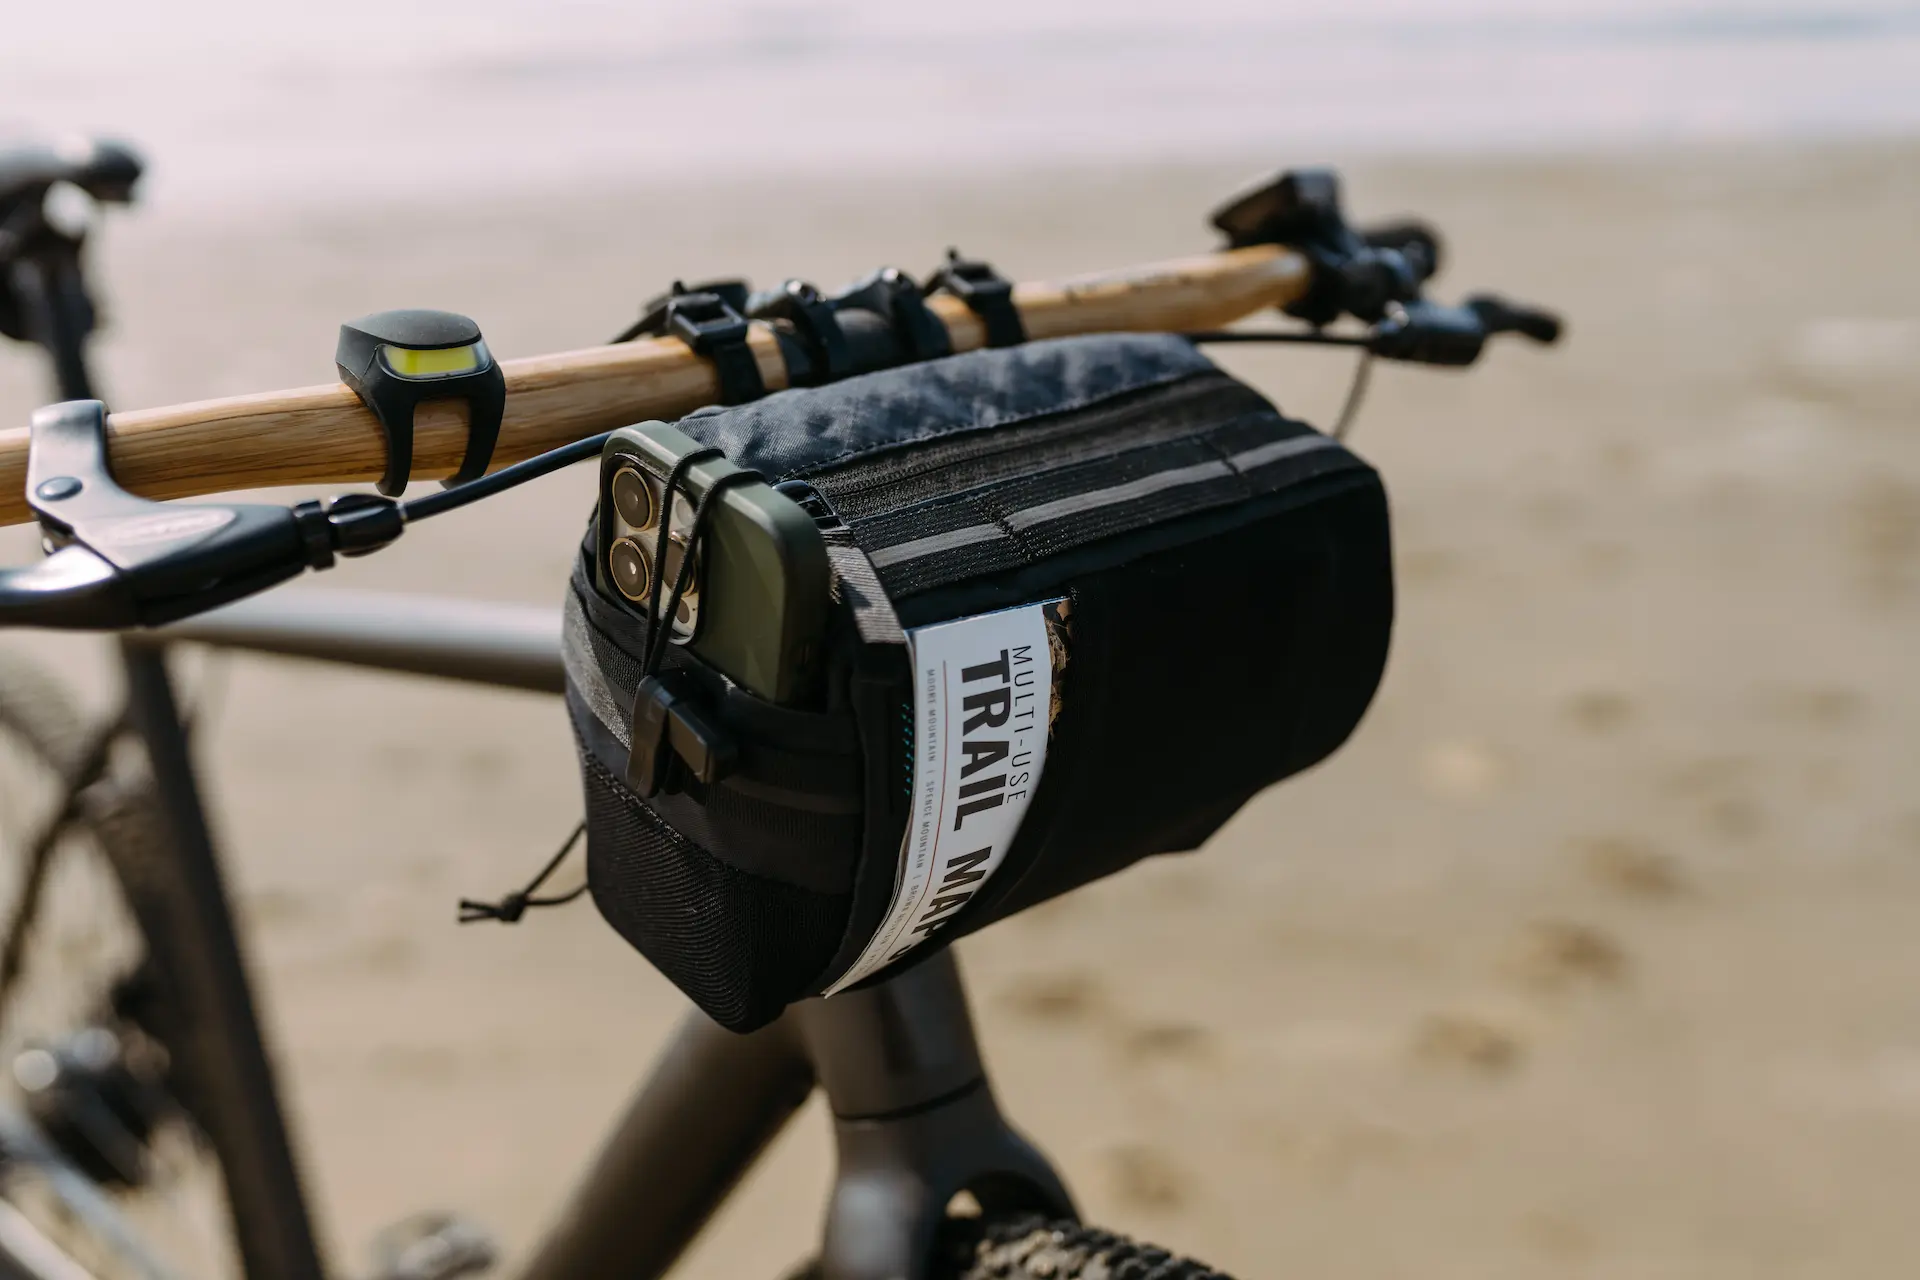
A frame bag for your essentials
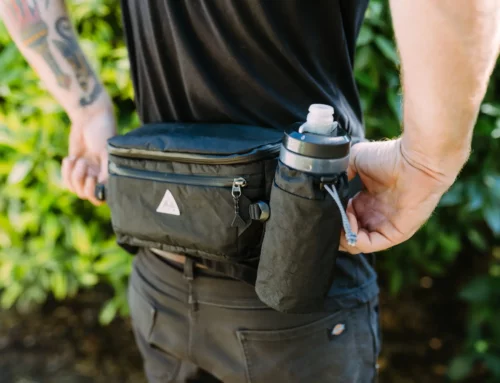
Without all of the essential gear tucked away in different corners of the bike, I’m left with an empty void at the center. For some that may not have a seat pack or handlebar roll, a frame bag would generally be host to things like clothes or cooking gear. For myself, I leave the frame bag open for all of the quick to grab items especially while riding. The Outpost frame bag is a unique bag in the way that it is expandable. With a zipper at the midway point, you can expand the bottom of the bag down a few inches to drastically increase volume. There is a zippered pocket on the left side and mesh pockets on the right. The main bag is accessible from a zipper on the right and has a velcro divider you can choose to use to help separate items within.
For my riding purposes I use the short pocket on the left of the bag for a power bank, wallet, and other items that a flat in profile that I don’t want to dig around for at a stop. The mesh pockets I juggle around a variation of multi-tools. For this particular outing I brought the Blackburn Wayside Multi-tool and a Dynaplug kit, which was used twice for a plug in each tire.
The main compartment was a snack box. Stuffed with quick bites, a breakfast burrito, and my camera. Our particular route allowed us to grab full meals along the way, so I left the cooking gear at home and capitalized on the space by filling it with easy snacks to keep me occupied while riding and charged up while dredging through the rain.
A word to the wise
As mentioned earlier there are an abundance of bags available to fit every riders needs and style. If you’re new to bike packing or just looking for rugged bags to cover all of your needs, you can stop your hunting and trust that you’ll be getting a fantastic setup. Every bag in the Outpost series does a great job at keep your items secure and dry. There are few things to fiddle with or question they use. They’re highly modular and adaptable, allowing them to fit across a wide range of bikes.
That being said, if you’re counting grams it is worth noting that the Outpost bags are not the lightest around. As a wet weather mission, a few extra grams were very low on the list of deal breakers.
With any bike packing adventure, be sure to pack your bags off the bike and give everything a good weigh. Know the load capacity of your frame and wheels and always stay within the parameters. Keep a log of what you bring and when you’re done make a note of what didn’t get used so you can plan accordingly in the future. Just because there is more space doesn’t mean you need to fill it.
Overall, the Blackburn Outpost bags are a great collection of bags that I wouldn’t hesitate to suggest to any rider. They have withstood thousands of miles of riding to date, in all sorts of extreme weather and trail conditions. ![]()


Price: $125
Volume: 11L
Weight: 475g
Price: $70
Volume: 5.25L/6.95L Expanded
Weight: 402g
Price: $45 ea.
Volume: 6.5L
Weight: 113g
Price: $200
Volume: 14L/8lb
Weight: 795g


Leave A Comment
You must be logged in to post a comment.